Friday, April 23, 2010

Out With The Old

I'm back with another project from our guest room. As you can see in the before pictures, the bed has a dark brown upholstered headboard which was just fine except it was just a piece of Styrofoam covered with batting and fabric screwed to the wall. It looked okay but was really flimsy and screwed to the wall.


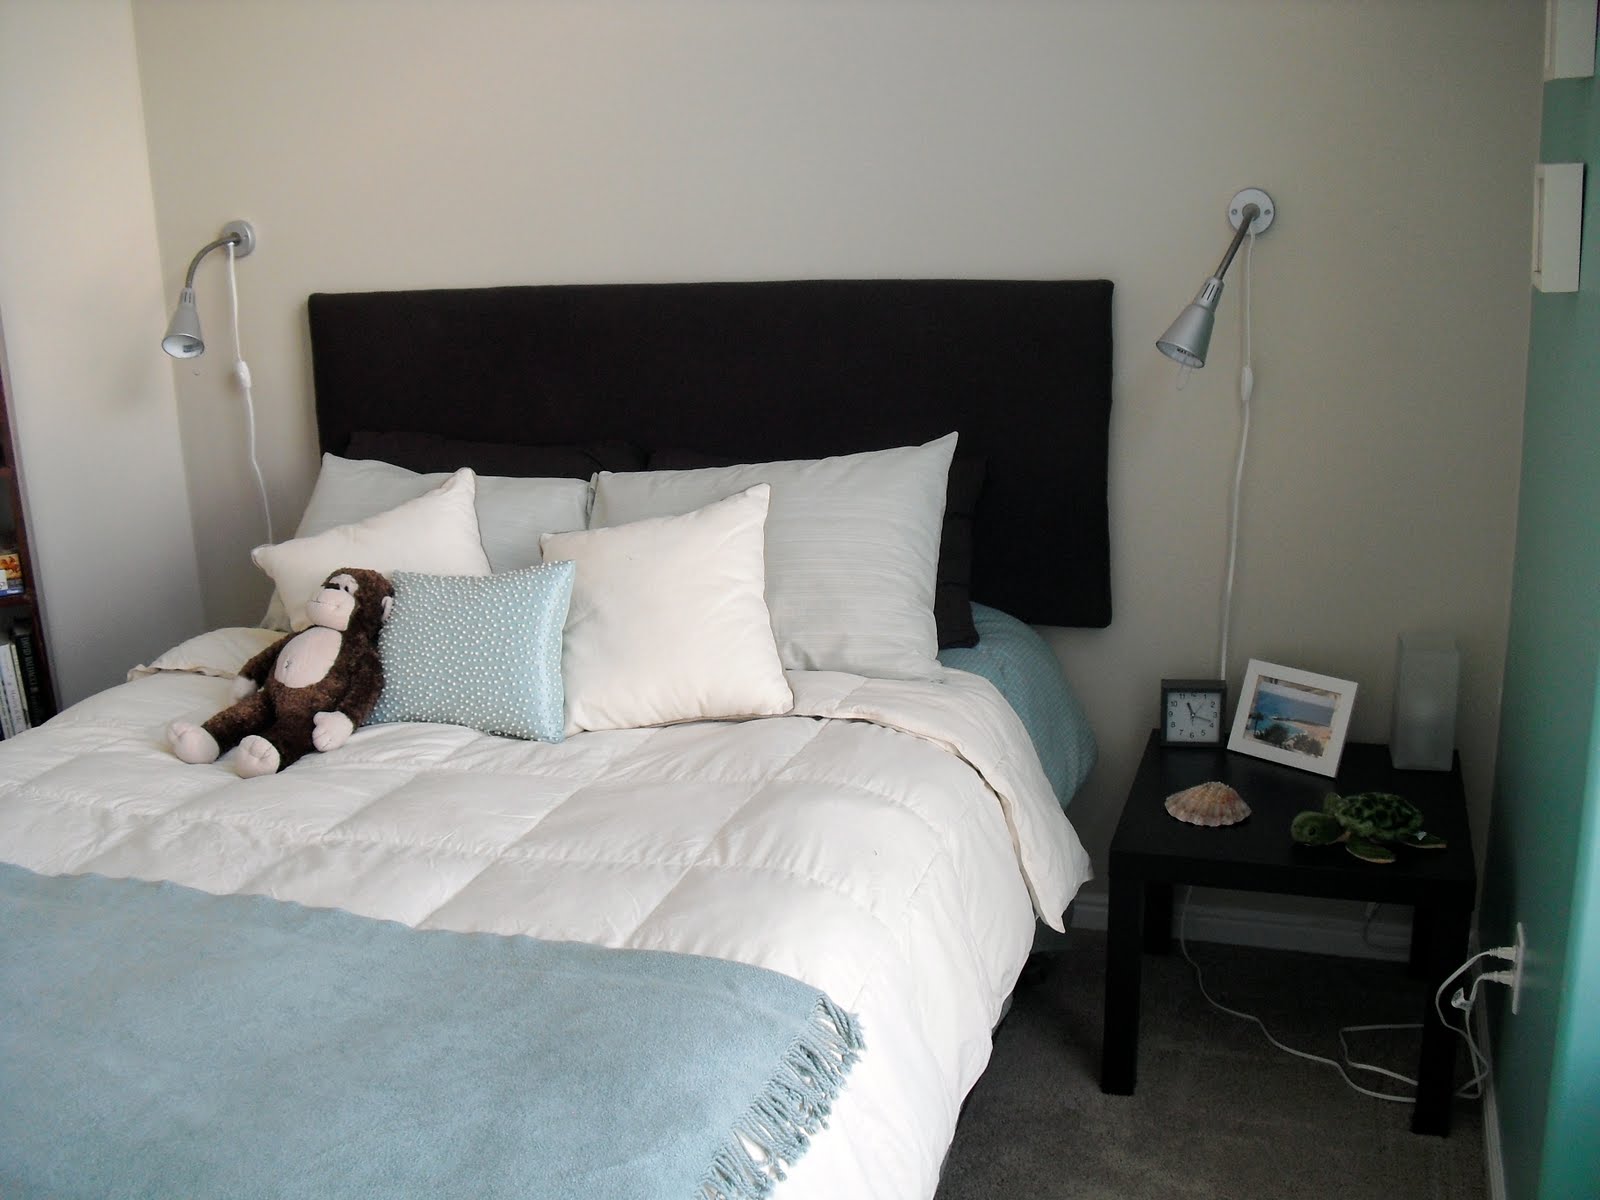
When this was our bed, we had a super cheap dark brown headboard I shoved in the closet in this room because it was not attractive, not comfortable to lean against and because it was cheap, it was also kind of flimsy so when you did lean against it, you were pretty much guaranteed to dent the wall.

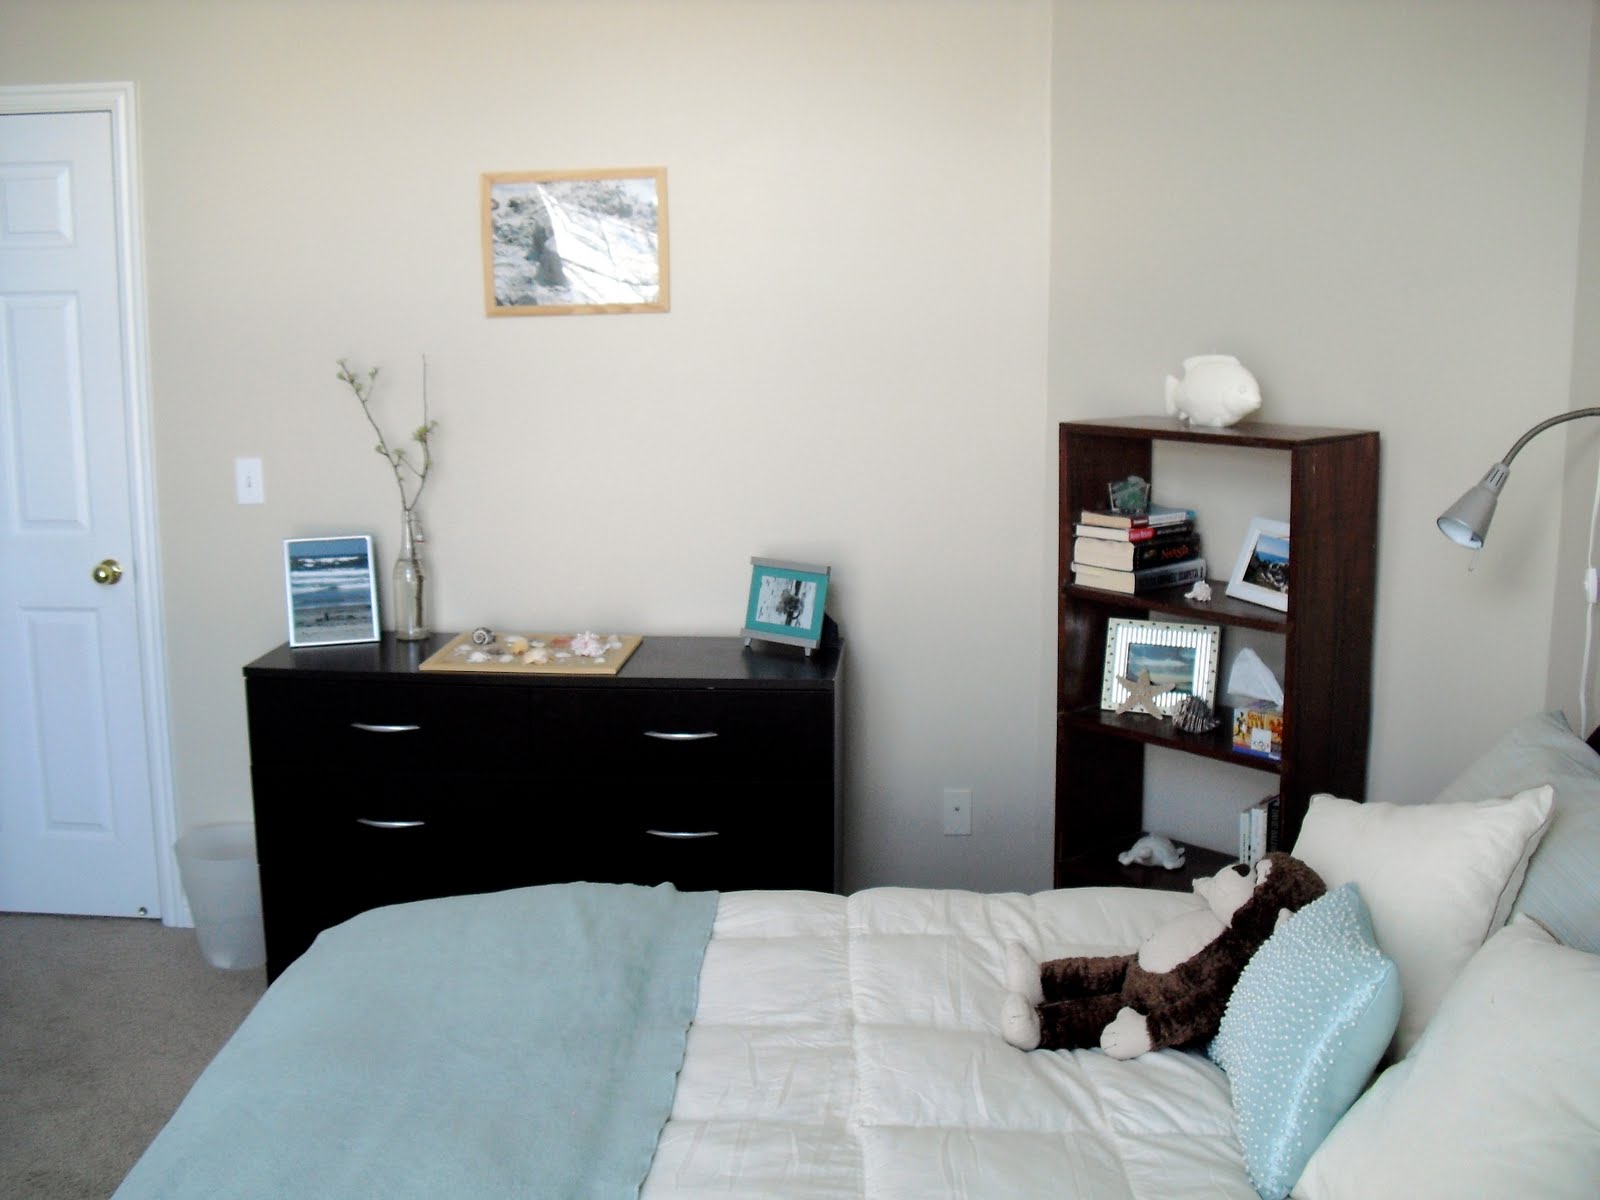
I'm planning on painting the way too bright teal blue accent wall with the same wall color as the rest of the walls so I wanted to make a new headboard with a blue green fabric to keep some of that color in the room. I ventured down to Joann's and found some ideal upholstery fabric on sale for $6 a yard. It was really a light gray blue so I also picked up a $2 box of kelly green RIT dye along with my two yards of fabric. One washing machine load later, I had the perfect light blue green color fabric. I may have jumped up and down in the laundry room when I took the fabric out of the dryer.

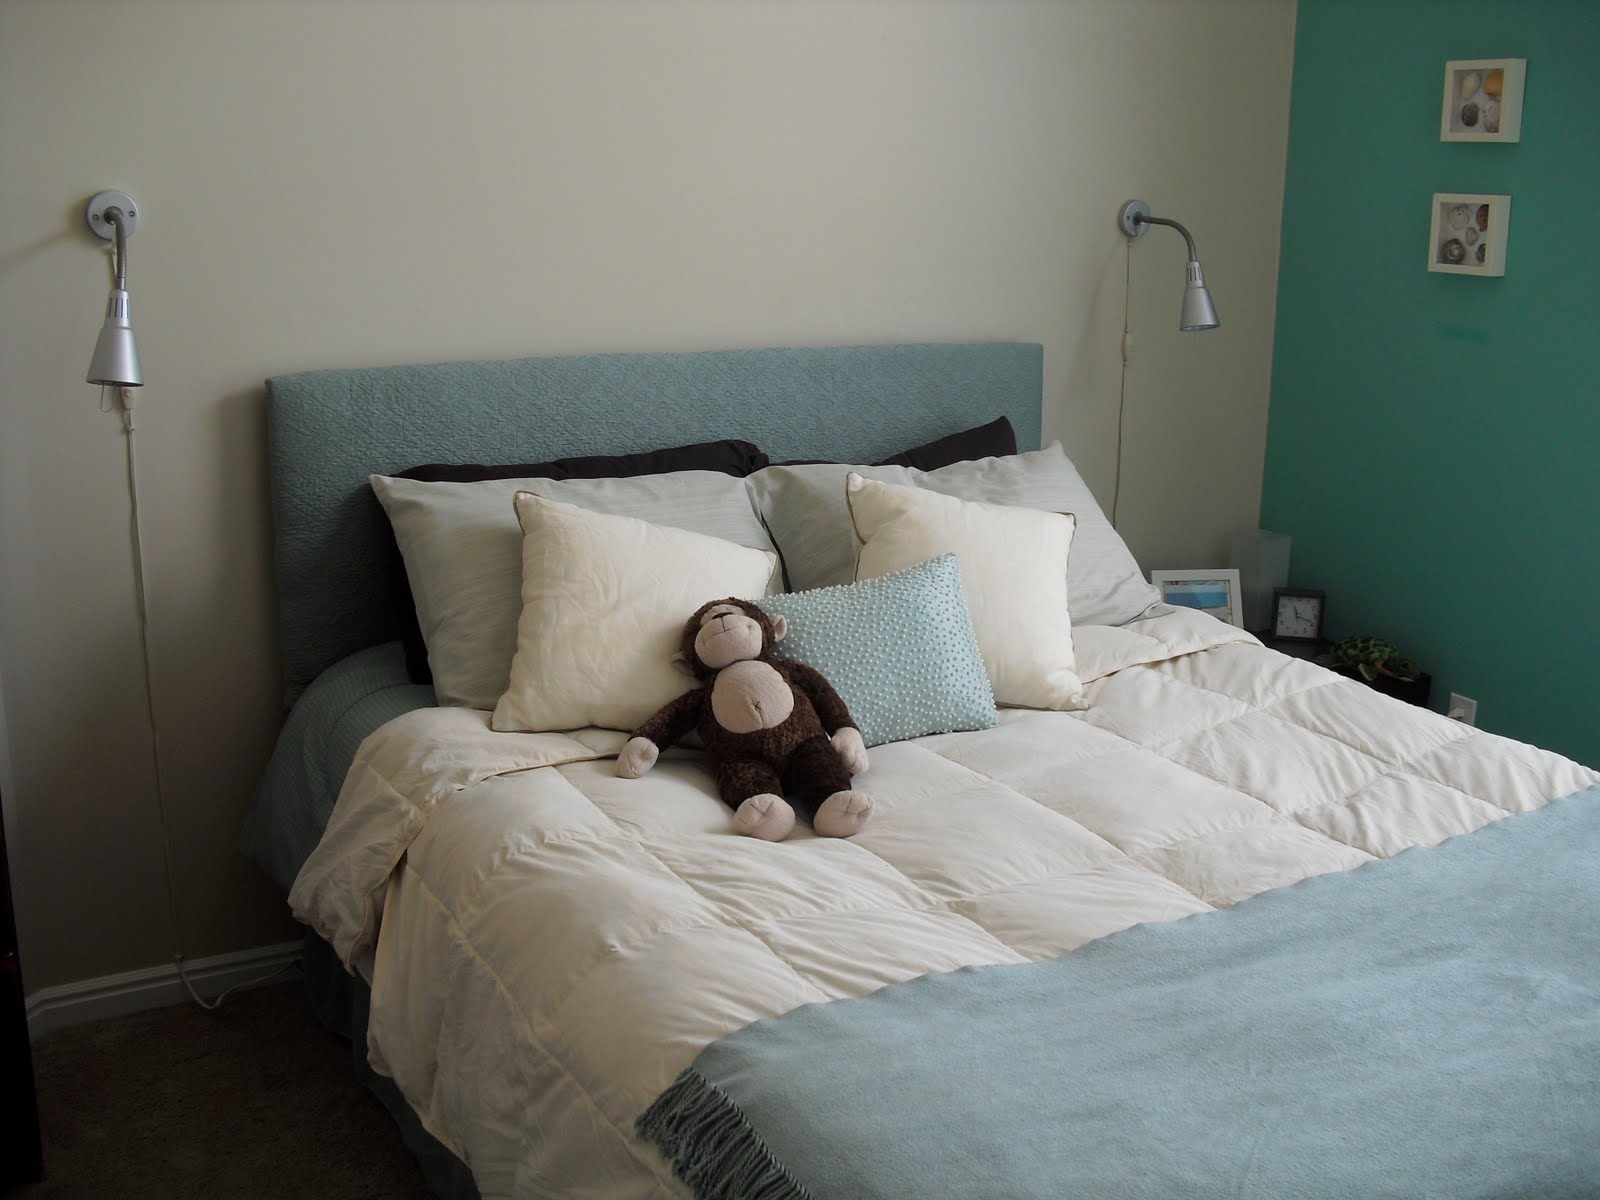
In an effort to remedy the issues I had with the previous headboards, I opted to combine the two. I hot glued the Styrofoam onto the old ugly dark brown, reused the batting and upholstered it with the new fabric. I didn't take pictures because I know there are a thousand other DIY upholstered headboard tutorials out there. Just google it, you won't be disappointed.

I am super pleased with the results. Now I have a comfortable, solid, portable headboard in the perfect blue green color.

While I was filling the holes left from the previous headboard, I also took the time to fasten down the lamp cords and paint them the same color of the wall. I know it is nowhere near hiding them but at least they aren't all twisted and hanging how ever they want and are now the same color as the wall. Eventually I will find a much more attractive lighting solution.

Here is the finished headboard in all it's glory. The guest room is really starting to look better and better everyday.

Thursday, April 22, 2010

The Couch Has Some Fun

A few weeks ago I realized my family room was lacking. Beside having a super formal mantle arrangement, the couch was very brown and boring. Now, I'm all for expensive and hard to change things being neutral so getting my dream sectional in dark brown was a no brainer. That also explains why the huge walls in the room are neutral colors because renting scaffolding to paint a room is a little too much work for me just to get a new color every few years. The brown couch is dark to hide the dirt, brown to coordinate with the slate tile and brown accent wall. Plus it doesn't hurt that our dog is dark brown too.

The red pillows that never got put away after Christmas really weren't helping either. Sure they matched the kitchen wall color but they really were doing nothing else for the room.

I turned to the only thing I know that can spruce up a couch without reupholstering (expensive!) or buying a new couch (even more expensive!). I made new pillows in some fun new prints.

I knew I wanted to add some green for a few reasons. 1) Both of the pictures on the mantle have different shades of green and 2) Green is my FAVORITE color and 3) It's in just about all the other rooms in our house so adding some green will help tie the rooms together a bit better.

I really wanted to find a green giraffe print fabric since seeing the most ideal square tray in a green giraffe print at Z Gallerie on clearance for $30 one day. That baby so would have been mine if I hadn't been in Long Beach, CA for a work trip when I stumbled upon it. I did debate in the store for a good 30 minutes to see if I could figure out some way to get a 30 inch square tray on the plane home without spending $30 for the additional baggage it would cost me. Since you don't see it in the picture above, I'm sure you've guessed it didn't come home with me and my Z Gallerie didn't have one (on clearance or not).

After seeing some great printed fabric on a few other blogs I popped over to Premier Prints to see if they had my green giraffe fabric. It must have been my lucky day because they did. They also had a bunch of other awesome prints that happened to find there way into my cart. Weird how that happens.

On a trip to Ross a few weeks ago, I also found some fab green pillows for $6 bucks each so those ended up in my cart too.

The last pillow was actually a placemat from Pier One. Hello $3 embroidered pillow.

I think the pillows with one of my favorite throws that matches the lime green in my tree print perfectly make my brown couch look so much fresher. What do you think?


Now I just need to paint the mantle, cabinets, railing, maybe make a slip cover for the ottoman and add a few new fun accessories.

Tuesday, April 20, 2010

Green, Green, Green

As with our guest room, when we first moved in, we bought the sectional I had been lusting for (I may have had this couch in mind when we were house hunting and refused to consider a house that didn't have a family room I could put my sectional in). Painted the walls and stuck a picture over the mantle and moved on to more important things. Like removing the carpet in our master bathroom (EEWW!).

Also just like the guest room, I'm just now getting really annoyed by the lack of color and the ugly oak cabinets in our family room. Here are a few pictures of the before.


These are obviously from before we moved in, while we were cleaning the place. Don't mind the vacuum and pile of clothes in the dining room.

Here are a few pictures from only a few weeks ago.


Notice the red pillows left out from Christmas still (whoops!) and the way too formal candlesticks on the mantle. Also don't mind the fact that it was a little too bright outside to be taking pictures. This room is tricky to get a good picture on the fireplace wall with good day lighting.

Also notice one of the first projects we tackled in this house, the fireplace tile. I couldn't wait to get rid of the boring beige builder tile and since we put slate in our bathroom to replace the carpet, continuing the slate seemed like a good option. I love the texture and all the different colors.

This time around, first place I tackled were the accessories on the mantle. I liked the candlesticks and our wedding picture but felt the family room needed a more casual vibe. After all, the sectional was purchased because of it's extreme comfort.

Here's what I came up with.


I think it's safe to say I absolutely love it. The picture of us with our puppy was taken my the same wonderful photographer that did our wedding, Stacy Marie. Check out her website and blog for some of her stunning photographs. I opted to reuse a few of the candlesticks and candles and the tree print is actually a tea towel from Tikoli. Love.

By leaning the pictures on one side and offsetting them with some forced branches, I think I got the casual vibe I was going for. Next to tackle, the brown couch.

Monday, April 19, 2010

It's a Slow Process

Since we moved into our house, it's been a slow process adding character. Here's a picture of our master bedroom before we moved in since I don't have one of our guest room before I started making changes.

Really you can't blame me, I think I fell asleep on my way up the stairs to take pictures of the other rooms.

The guest room looks pretty much the same, just smaller and with no window on the wall on the left hand side of the picture.

When we moved in, we got new bigger furniture for our room, the guest room pretty much got all of our old furniture. I slapped some paint on the walls added a few accessories and moved onto other rooms that we spend much more time in. Since I've knocked off some other things on my list so I've been able to concentrate a little bit more on the sadness of the room. Here's what it looked like after the first go around.


Better than white but not as amazing as it could be. I really wanted to keep the beach ocean theme but it everything on the walls were the wrong proportion, the accessories were too small and made things feel even more empty, and I felt like there weren't any great popping colors to give the room energy. All things I am aiming to change this time around.

My first change was incorporating a great Willow House product. I love these candle holders but they actually aren't available anymore. I added a few pieces of sea glass that I had leftover from another project for this room that I'm going to share in a bit. I think these are much better proportioned for the room.

I think their replacement is even better. I wish I had them right now to switch out.

Thursday, April 15, 2010

My Dining Room Is Functional

So there's another reason I searched so desperately for a side table to put in the dining area. When we had parties at our house, here is where our guests were forced to pick up their drinks.

Not the most attractive or easiest spot to go pick up a drink. Even one of my favorite Willow House products, the Entertaining Bucket and Tray does little to make it look any better.


Now look at how hot the bucket and tray look on my new little table.


Now I can serve drinks ice cold in a more open convenient location for all my guests whether we're having a small dinner with friends or a big Halloween party. Love it!

Wednesday, April 14, 2010

My Dining Room Was Boring Part Deux

So yesterday's post ended with my dining room wall looking like this.

I think a pretty good improvement but still pretty stark and boring.

Which meant it was time for a few accessories.

Here was my first attempt at adding some zing.


Looks much better but still not exactly what I wanted. For this room and the kitchen and family room attached, I wanted to use the calendar I have hanging on the window panes for inspiration. It's colorful and fun which is exactly what I want my whole house to feel like. Here's a close up for you.

I bought it from a seller on Etsy. It's a printable calendar so it was super easy to get. Go check out The Little Brown Pen shop on Etsy. This calendar isn't up for sale right now but it's not exactly calendar season right now so I would keep my eyes peeled at the end of the year.

Okay, back to my console table. I was really not digging the right side of the table. The bowl of wood balls was a little blah and way too short. I liked the idea of keeping my copies of Gourmet mag (RIP) in the dining room for easy accessibility. Plus the colorful spines help to mirror the motif of the calendar.

See? Subtle and sensible.

So in my hunt I did what most sensible people do when they have a void in their decor. I headed down to Z Gallerie and looked for something colorful and bright. Luckily for me they had just come out with a bunch of bright colorful pieces for spring. Enter this fun bright green lantern.

Alberino Lanterns

It was exactly what the console table needed. See? So perfect.

Tuesday, April 13, 2010

My Dining Room Was Boring

Once upon a time the wall in my dining room looked like this.


Which I'm just going to warn you looked so much better than what it looked like when we first moved in. Just imagine the same antique window in a dark brown color and nothing in the window panes. Got a super boring visual of that now? Okay good.

I knew I wanted some sort of console table to put underneath the window to give this wall a little more visual interest. Because of our very open main level, it's pretty much the only wall in the dining area so really it should have much more than one thing hanging out all alone.

My main problem with this space was it needed a super narrow table to go there since it serves as a hallway type space between the family room/entry way and the back door (really the only door we use). And when I say narrow, I mean narrow. I pretty much figured anything wider than a foot and my husband and I would be constantly running into it while leaving for work in the mornings in the dark and our dog basically runs into at least one wall on a daily basis so minimizing the target area for him sounded like a good idea too.

So after searching for months for some sort of side table that I liked and was narrow enough not to be a tripping hazard I had almost given up. Then one day I read about a delightful blog called Knock Off Wood where I found the plans for a perfect console table.

It was narrow, it was simple, it was clean lined and because I got to build it myself, I could make it the perfect length for my wall as well. Here's a link to the plans if you are interested. I cannot stress how easy building this really was. I had never built a piece of furniture before in my life. It took me 10 minutes to cut my boards on my hubby's chop saw and screw them together. 10 minutes and I had the perfect table. After a quick sanding and two coats of white paint, it was ready to plop down under my window calendar. Divine.


Now I just need to put some stuff on it...

Friday, April 9, 2010

Ruffles and Jelly Bellies

The other day I got a craving for jelly bellies in a bad way. The popcorn ones are my favorite. Naturally I had to go buy some. I even waited a few days to see if the craving would go away. It didn't. So off I went to the grocery store. I'm not going to lie, I bought three bags.

Other than the delicious flavors the other thing I love about jelly bellies are the colors. So bright so many different colors and patterns.


Naturally I didn't want these babies to be sitting hidden in a cabinet. I got out one of my favorite Entertaining At Home products, the ruffle glass bowl. It's perfect for something like this.

You can check it out here in the Entertaining at Home catalog on page 43.

I love the how the ruffles give it some subtle shape. It looks a little flirty on its own. I also like how clean and simple it is. There is really nothing to take away from what is in the bowl, it just simply highlights it.

Because the jelly bellies were supposed to be all mine, the office desk was the obvious place to put it. (Okay, I will share with my hubby and maybe the puppy if he asks nicely.)

Here's my desk with out the delectable jellies.


Now my desk with the treat.

Friday, April 2, 2010

Let Me Introduce Myself


Hello, my name is Allyson but all my Friends call me Ally. I'm a twenty something Engineer originally from Salt Lake City, Utah. I have a sweet hubby named Shad and an adorable pit bull puppy named Dublin. By day we both work as engineers for major corporations and by night we're both trying to make our mark on our dream house we purchased just a year ago. I love thinking up ways to add personality and coziness to the inside of our house while he's busy making the outside look just as good.

Our house is pretty new so instead of dealing with broken run-down rooms, we're dealing with boring builder grade details that could put a screaming two year old to sleep.

When we first moved in every single room was white. It didn't bother me at first because it was neutral but after getting sick and spending a week on the couch after we first moved in, I was ready to freak out at the sight of another white wall. In the last year we've painted every room once (okay the master bedroom twice) and though I'm already itching to change some wall colors again, I love that with just a few coats of paint the house became ours.

I love design and adding my personality to things. I'm an engineer so I love planning projects and getting my hands dirty doing them myself. I found a company whose products I love that I can share with everyone I meet. Join me on our journey as I continue to make our house our home and share some of my favorite Entertaining at Home products.